All the flake!

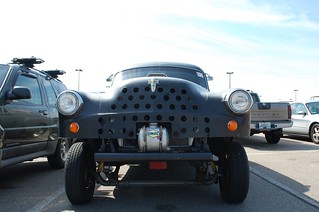
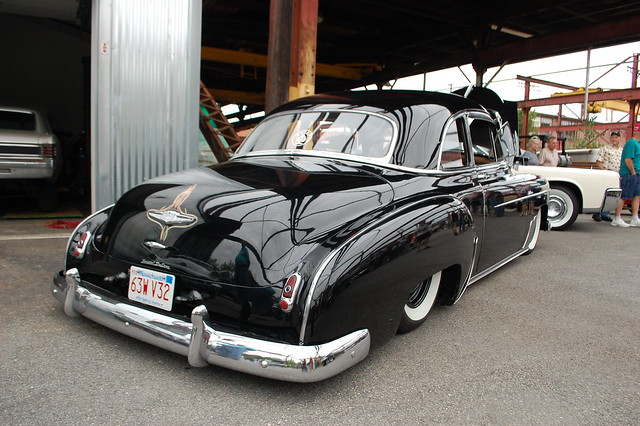
Saw this at a show this weekend. It was covered in a ton of big silver flake, then shot with enough clear to be smooth again.

Double cool was that they’d carefully ground the chrome plating off, leaving the copper underlayer(and painted the stainless pieces to match).

Car Show insanity

What you are looking at here is a 1958 Cadillac Eldorado body sitting on a stretched 1972 FWD Eldorado chassis, complete with 500 cubic inches of torque-monster V8 under the flip-front hood.

My favorite part was the owner/builder’s off-hand comment that he built it with “stuff I had lying around”. I envy anyone who has this much Cadillac goodness just lying around.

They aren’t kidding about this thing hauling.

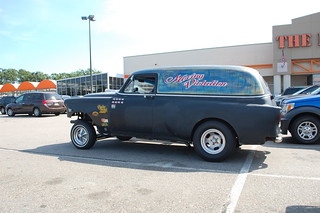
I ran across this 1953 Chevy sedan delivery at Home Depot while picking up house supplies. Just as I was entering the store this burbled through the parking lot. I dashed around getting my shopping done as fast as possible in hopes it would still be there when I was done.


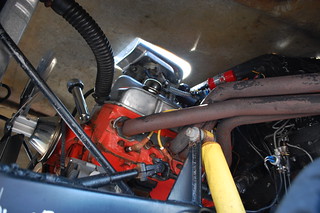
Luck was with me, and it it was still there, parked a few spaces away from where I’d left my truck. “Moving Violation” seems to have been built in the classic 60’s gasser style with a straight-axle front pointing at the sky, big slicks in the back, and a worked over V8 under the 1-piece flip-front hood.


The car was rough around every edge, but had the look of something that gets driven, and driven hard. And the very fact it was driven to Home Depot of a Saturday was awesome in my book.


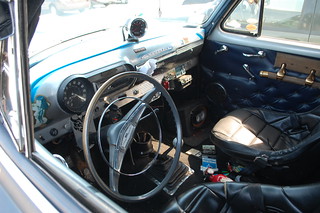
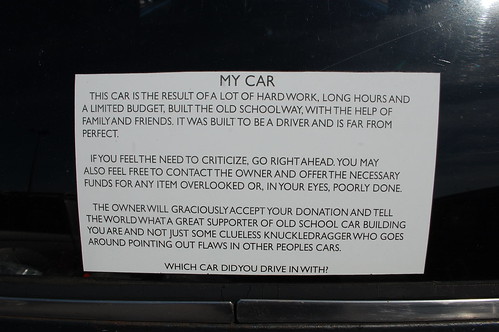
I spent a good long time looking the car over and admiring all the details through out. It was clear the car was well-loved and built by someone with a sense of humor. But the best part was the large sticker on the rear window, which made it clear how the owner feels about people giving him shit for the car not being perfect.


The Steelyard Car Show 2013

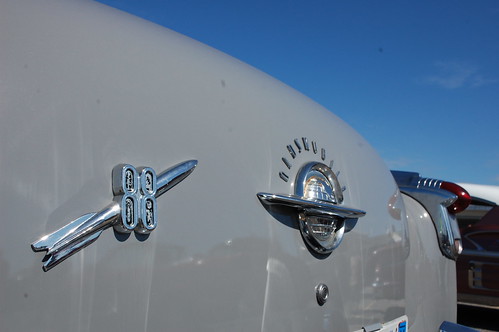
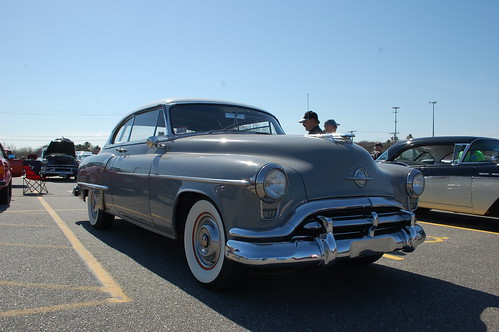
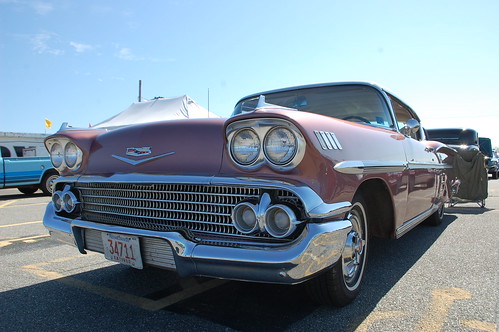
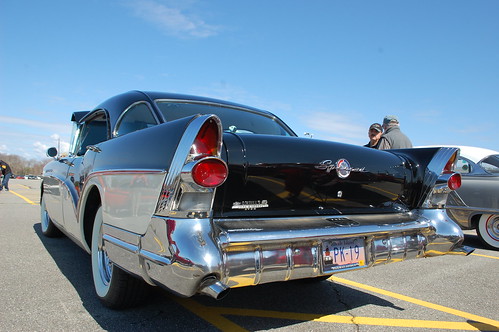
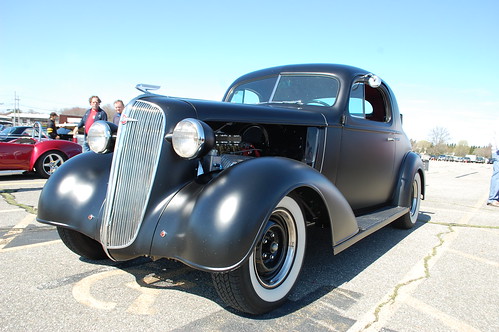
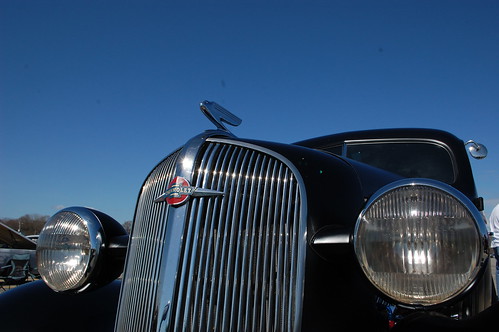
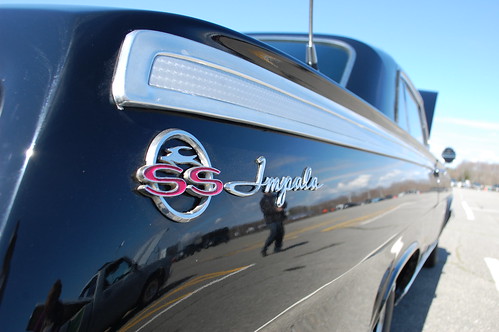
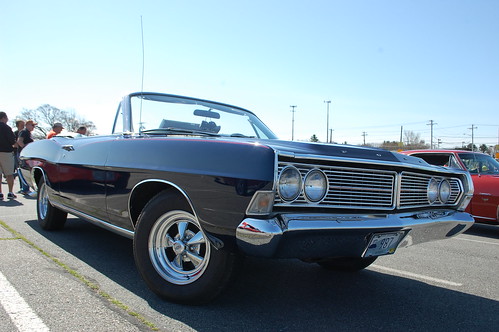
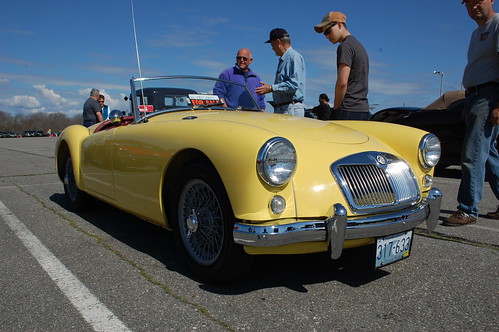
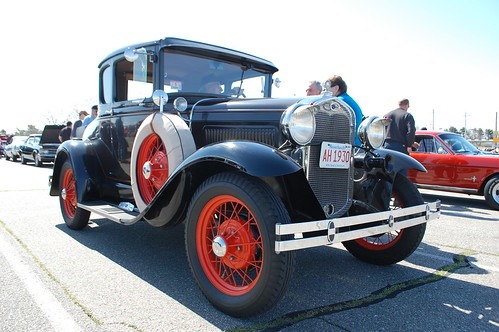
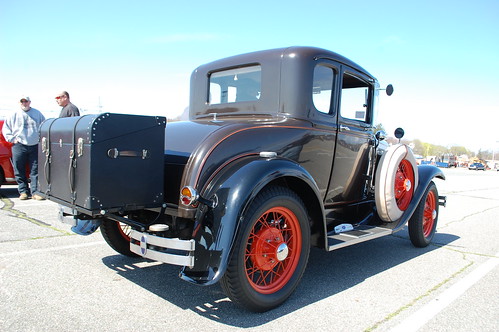
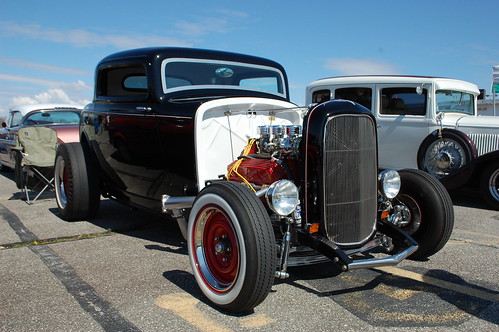
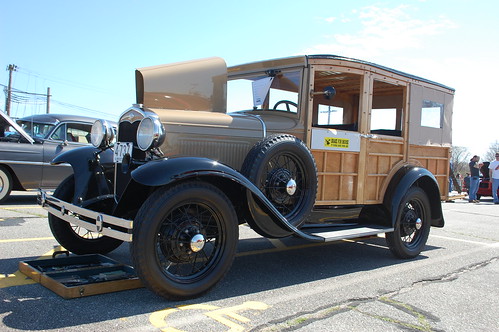
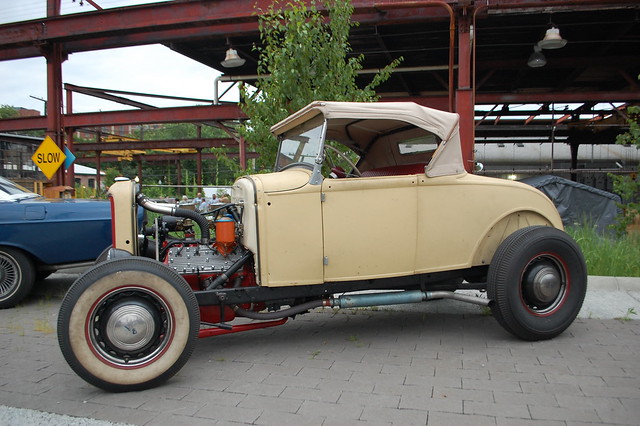
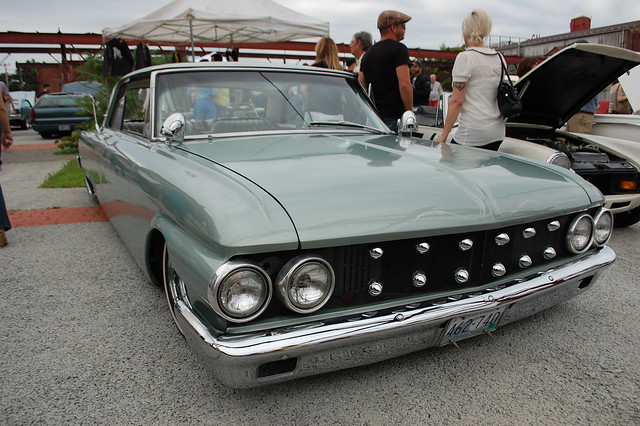
Every year The Steelyard here in Providence puts on a car show, and every year it is filled with amazing cars. The Steelyard also makes an amazing backdrop for these beautiful classics.

A big surprise for me was my old ’62 Comet “Emily” was there(this car is in some of the header images on this blog). The current owner is treating her well and has continued to customize her. It made me nostalgic to see her again, and I was glad she was being treated well.

For more pictures, see my Flickr set from the Show.

Quick tip, Locking gas cap

After the gas cap was stolen off the truck on night , I upgraded to a locking gas cap. However I didn’t want to add another key to my key ring, and didn’t want to risk losing it somewhere in the truck.

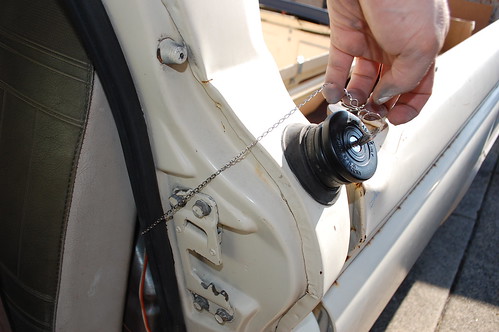
So I came up with this:

That is the key on a retracting key ring, like what security guards keep their keys on. It is clipped to part of the metal of the cab and is virtually invisible unless you know where to look.

Now when I want to fill up all I have to do is open the door, get out, reach over and grab the key, unlock the gas cap and let go. The key retracts out of the way and I don’t have to worry about misplacing it.

(weird hand placement is due to trying to get a picture with the other hand)


Quick Tip, installing spark plugs

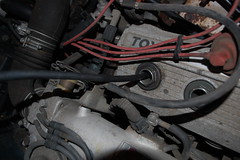
Here is a quick tip for those who may not have seen this trick. If you are trying to change the plugs in an engine where they are deeply recessed into the head, there is a way to make it much easier.

Use a spark plug socket to take them out, as the rubber donut in the socket will grab the plug and allow you to pull it out.

Or use the hose on your vacuum gauge.

Buy about a foot of vacuum line, and slip one end over the top of the plug. This will allow you to feed the plug down into the head, then twist the line to get the plug started. Once the threads have started the plug will stay in place enough for you to pull the vacuum line off.


Finally use a normal(NOT spark-plug) deep socket to finish the job. As the spark plug socket will want to stay on the plug and likely come off your extension.


Done, and much easier. Oh, you did remember the anti-seize on the plug threads so it is easier next time. Right?

Seduction on four wheels

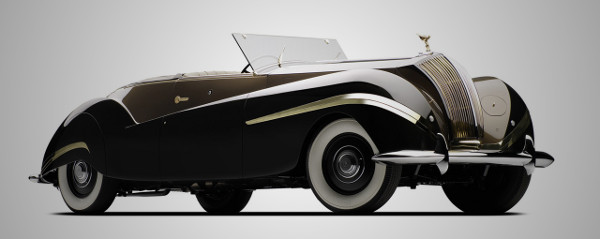
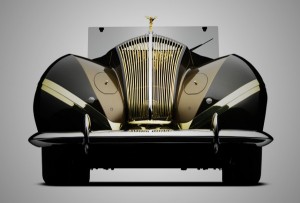
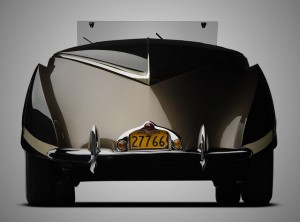
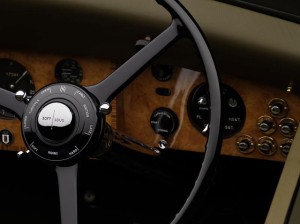
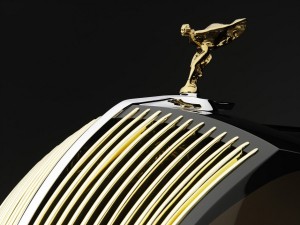
This absolutely stunning piece of automotive art is the 1939 Rolls-Royce Phantom III “Vutotal” Cabriolet. It is a 1939 Rolls Phantom III Chassis that was rebodied in 1947 by Labourdette of Paris into what you see here.

I was googling for something else and ran across the image above. It immediately beat up my heart and stole its lunch money. Every angle of this car is absolutely achingly beautiful.


The Phantom III “Spectre” Chassis it is built on is no slouch either. From 1934 to 1939 only 719 of them were built at a cost then of about $10,000 each(over $165,000 in today’s money), and that was for the rolling chassis & engine alone. You’d still have to pay to have a body built on the chassis.

The Phantom III was the most advanced Rolls Royce built to date. It had a dual-ignition V-12 engine making an estimated 200 horsepower. A Rolls first independent suspension with hydraulically adjustable shock absorbers and an on-board jacking system.


But this car could be mounted on truck chassis and powered by a lawnmower engine and I wouldn’t care. The art-deco curves are amazing, and the gold plated spears hugging the fenders are almost obscenely sensual. This isn’t rolling sex, sex is messy and people make weird faces. This is rolling seduction. It is the curve of a woman’s body against satin sheets, lit by candlelight.

(via the JWR Automotive Museum)

Upgrades to the Wee Trailer

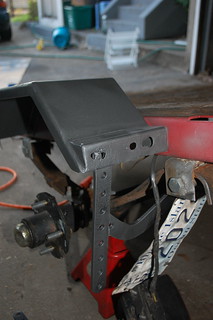
The wee trailer has served me well for over two years no matter what I threw at it, and despite a lot of abuse it just kept going. However it was due for a bit of maintenance, so I decided to fix several issues at once. As you can see in the pic above(the trailer is upside down in that shot) the license plate is utterly mangled from getting caught every time I tip the trailer on end to store it. And this is after the original bracket broke off. Also the tail lights were moved to the fenders after those brackets broke, but they point to far up and aren’t easy for other drivers to see. So While I was greasing & adjusting the wheel bearings I decided to fix those once and for all.
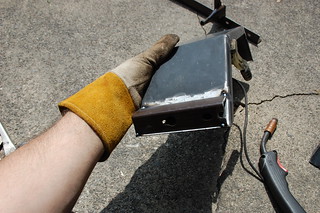
As the house is eating most of my money, I decided to see if I could do this with only stuff I had around. So I dug out a now extra bed frame, and cut a piece off to serve as the new tail light bracket. I tacked it to the bottom of the fender.
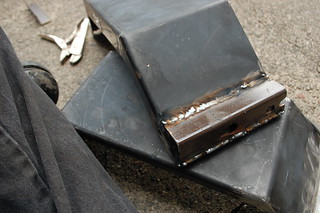
Then I finished off the welds. After grinding the welds down I added a few more tacks to fill any low spots and ground that smooth, continuing until it looked decently smooth.


To save myself a lot of effort, I cut the bed frame so I could use the existing hole as places to bolt the tail light. On one side this meant another hole was on the edge of the cut, leaving this small cutout.
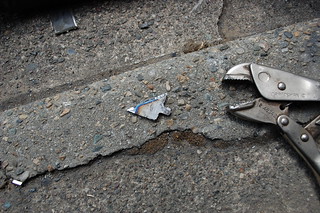


I wanted to cap the visible end of the bracket to make everything cleaner, so on this side I added a tab to the triangular filler piece.


This is the filler fitted into place, don’t take this image as a sign that I am an amazing fabricator, I was surprised as hell that I managed to get it to fit this well.
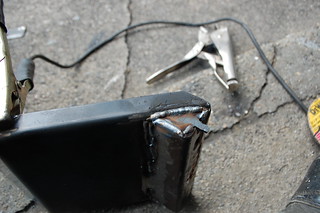


Then welded the cap in place. Once it was welded in I hammered over the tab and welded that in.
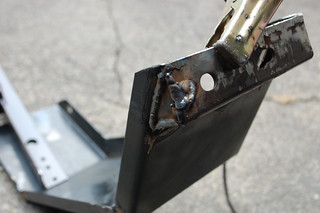


And fully welded.
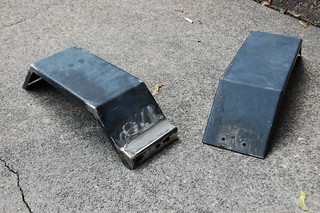


One bracket built, compared to the unmodified fender.
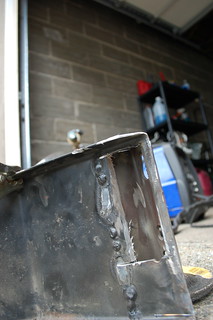


Once the brackets were attached, I cut the fender out behind the bracket so I can reach the bolt on the lights.
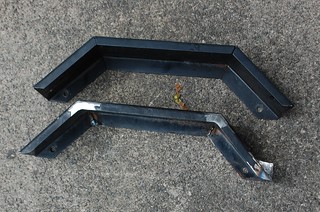


I also welded the seams on the fenders for strength, and to allow me to grind them smoother. Also barely visible in this shot is that I smoothed the corners.
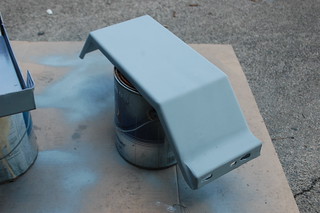


Fender with a coat of zinc primer. I didn’t worry about getting everything perfect as they are going to live a hard life anyway. Also I was planning to use the hammered metal spray paint, which covers a lot of sins.


I also wanted to build a sturdier license plate bracket, hunting around I found these brackets from a dead garage door opener. The curved one turned out to be perfect.
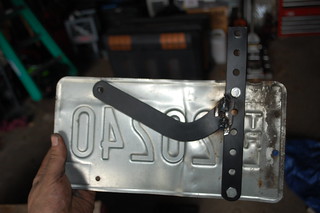


The completed bracket.


Installed on the trailer, and painted with hammered metal paint.


And the finished, re-assembled trailer. At some time soon I’ll need to replace the decking, at that point I’ll repaint the main frame. I also ground the rust off the rims and shot them with some leftover graphite paint from Box’s wheels.


Now open, the newest Improbable Garage location!

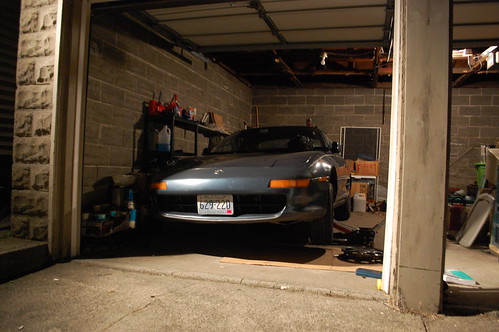
The first actual car work has happened in my new garage last week. It was just a tie rod & plugs on the my girlfriend’s MR2, but it was real car work, in a garage that is mine.
The garage is still a mess, and the other bay is full of furniture & bins, but it is a start, and more is coming. I have actually done some more since, but I am so busy the blog posts will keep being a bit delayed & erratic.