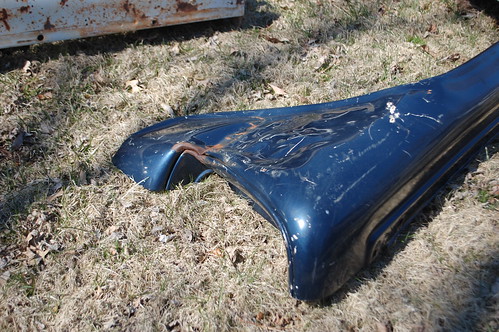
Bad cab! No donut!

DSC_2754
DSC_0436

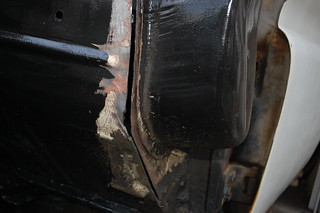
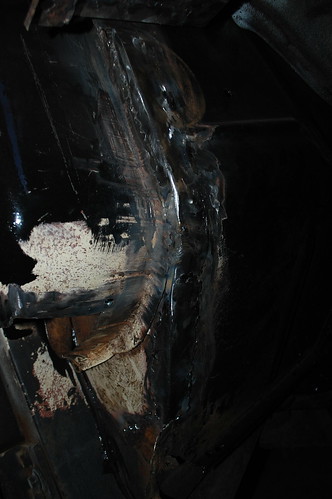
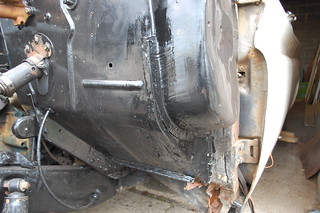
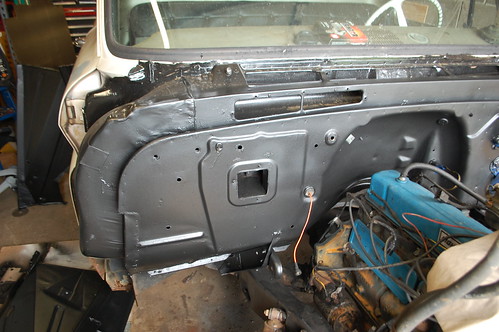
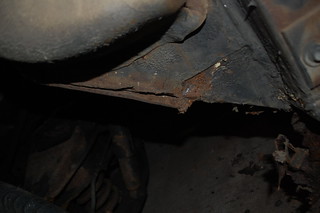
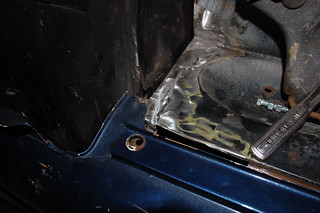
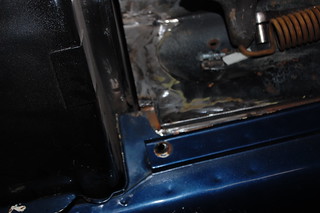
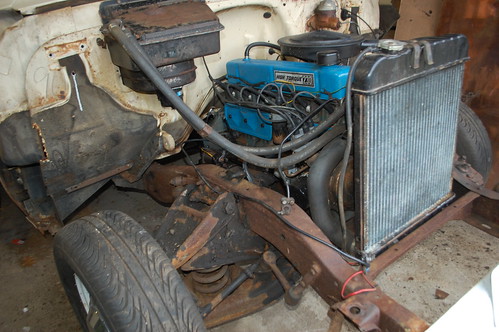
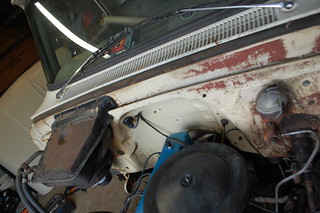
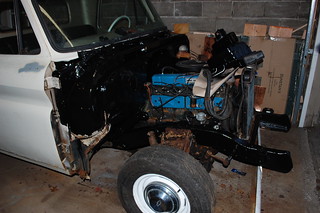
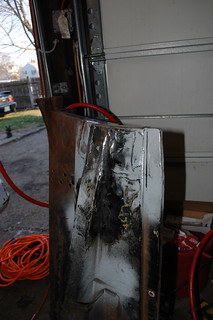
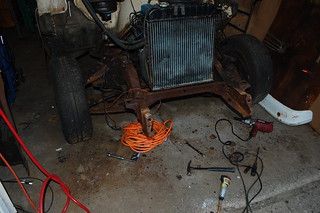
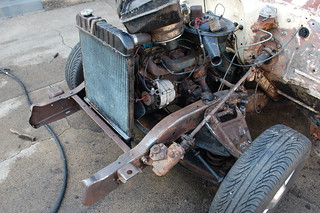
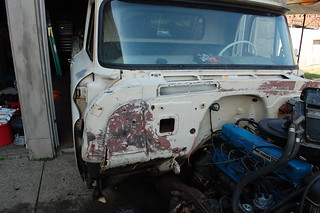
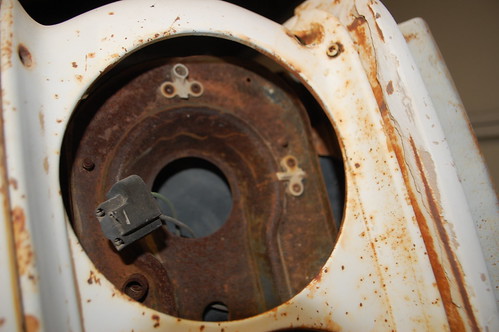
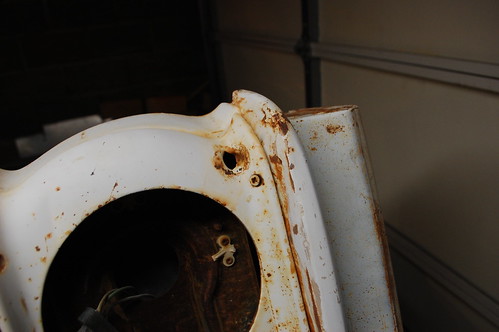
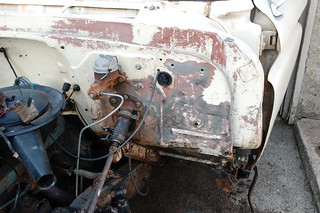
Once I finish the front end, it will be time to start doing some serious repairs to the cab, however the more I dug into it, the more I realized what a wreck the cab really is.


DSC_2759

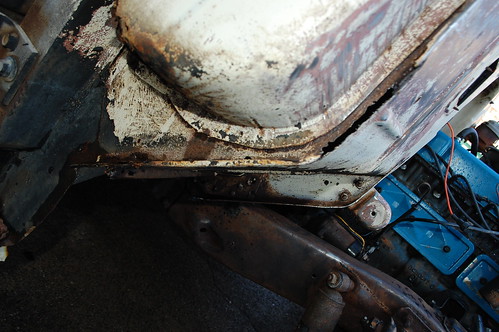
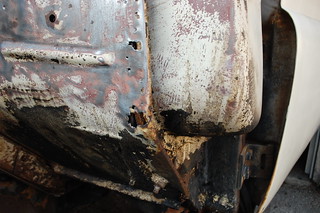
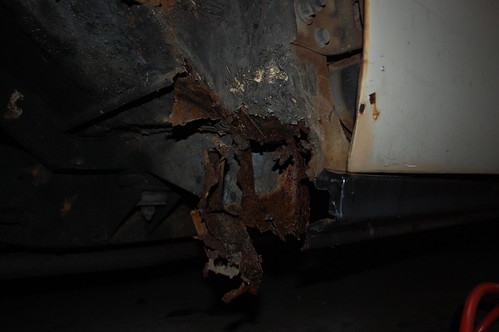
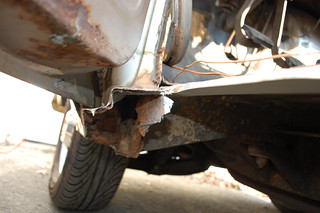
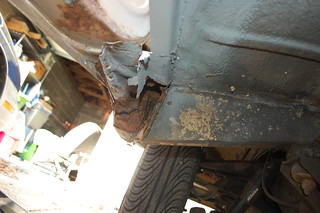
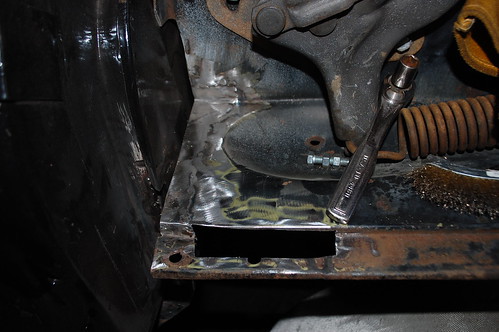
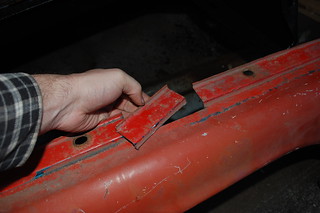
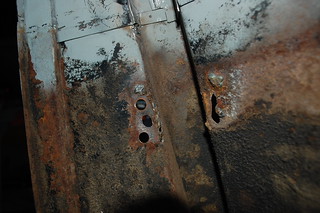
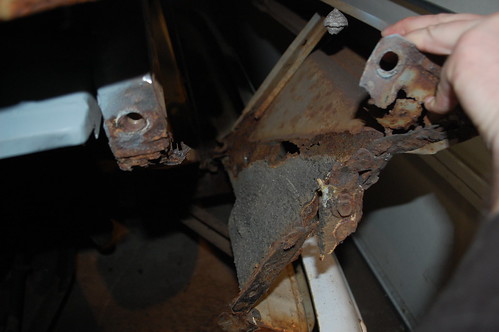
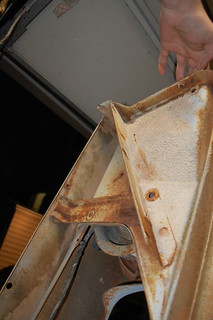
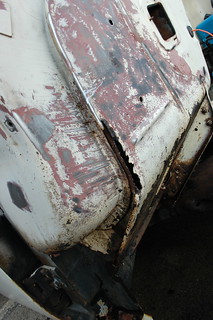
The rockers have been replaced once, and a lot of the factory bracketry was hacked in the process. The patches also go much further up into the cab that expected.


DSC_2768


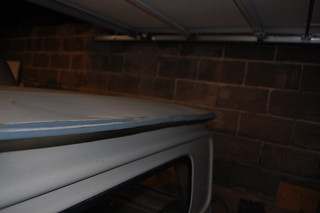
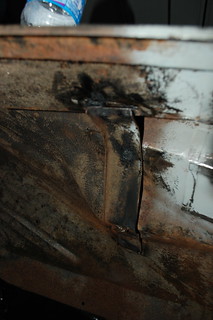
Between these and the dented roof, I’ve decided the cab isn’t worth trying to get right. Instead I’m keeping an eye out for a better cab at a reasonable price to replace this one with entirely.

DSC_0435


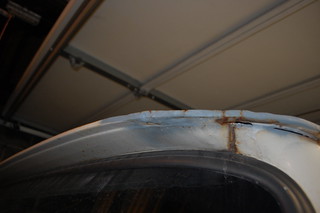
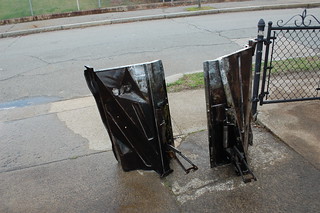
In the mean time I’m going to do sort of “Quick & Dirty” repairs to it. Making things solid & safe but not try and get them right. I still have to replace the rockers and some/all of the structure under them as well as patching other issues.
DSC_2766


I haven’t yet decided if I’m going to replace the roof skin & drip rails or hold off in hopes that the future cab won’t need that work.


It’s the little things sometimes

DSC_3155


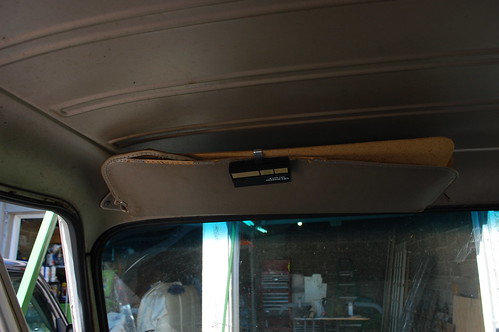
The one sunvisor in the truck was beyond trashed. The garage door opener on it came with the truck, and is now a structural part of the visor.

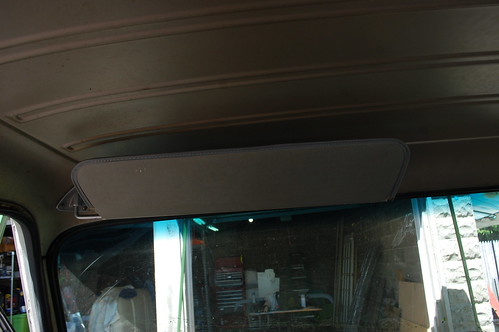
A ways back I posted that I’d picked up some replacement visors, so I decided it was time to replace at least one. Three screws later and things looked a lot better.

DSC_3160Little projects like this are great, very little effort and a noticeable improvement.


Inner fenders, done!

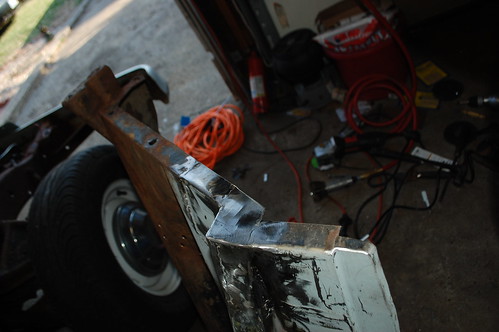
DSC_2966 I finally got the last of the welding on the inner fenders completed. I cut the rusted lip off the back and made two patches to replace that area. I tried to make it easier on myself by removing the step down at the back edge(on the left in the picture above. This caused an issues as you can see below. DSC_2976But first I needed to patch the other section that you can see cut out above. There is 3 bends here that needs to be carefully made so everything lines up. I got a brain wave and measured the lip at the top of a junk fender I had. Everything appeared to match so I cut out a section.   DSC_2977 I flipped the piece over and tested it, the bends are an exact match. I carefully trimmed it and the fender edge to fit and tacked it into place.       DSC_2978 Here it is tacked in place, please ignore the terrible welds from forgetting to turn on the shielding gas on the MIG.   Below is the piece with the welding finished & ground down. DSC_2979 DSC_2974
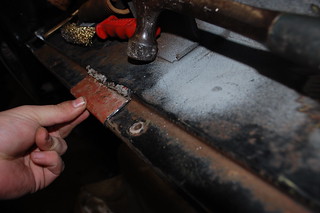
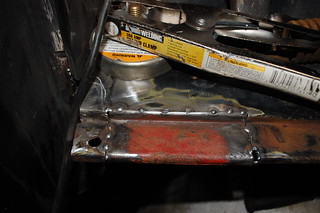
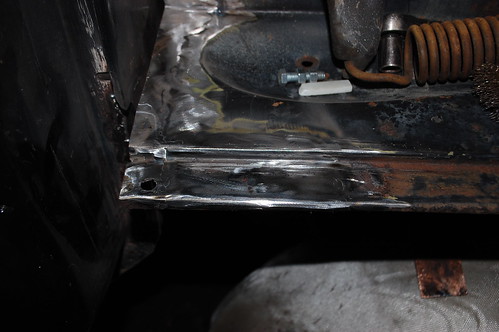
As I mentioned above, the lazy way I decided to fix the back edge bit me in the butt. I tested fitted an outer fender and realized I’d forgotten this little flange that fits over this spot.


DSC_2980

I pondered just cutting the flange off on the outer fender, but decided I’d rather have it so any fender could fit here. So I cut the corner where it overlapped, flipped it over and welded it in place.   DSC_2969


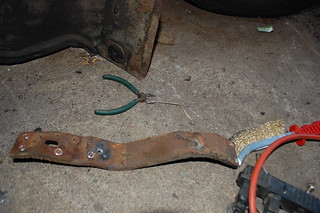
Then the repaired battery box brace was welded back on, and the repairs to the inner fenders were done.


DSC_2984


I chucked a wire cup brush in my angle grinder and ground all the loose rust off the inner fenders and gave them a good scrubbing to get any last bits of grease off.


DSC_3000

Then they got two coats of Masterseries anti-rust paint. After they dried I gave the m a coat of black paint and a coat of truck bed liner. The finished liners then got installed, which will show up in another post.

A bit of paint finally goes on

DSC_2900

DSC_2898I decided I was tired of welding, so I worked on something else for a change. I decided to paint the now exposed parts of the frame & firewall. Normally the firewall should be matched to the body color on these trucks, but since I am not sure what shade of dark green I ‘ll be using I decided to paint the firewall to match the rest of the sheetmetal in the engine compartment so I didn’t have to worry about it matching the outside.
DSC_2935


I ground down the surface rust on the bits of the frame I could easily reach now that the sheetmetal was off the nose. And also ground down the rust on the firewall, scuffed & degreased everything in preparation for some paint.


DSC_2944


There is still rot to be dealt with on the firewall edges, but I figured if I paint everything but that area I’ll have the option to do some re-assembly before I get to fixing the rot.

DSC_2948


I also sanded down & rattle-canned the heater box semi-gloss black. This is just to make it presentable until I get around to tearing it down and rebuilding it with new gaskets, motor, & core.


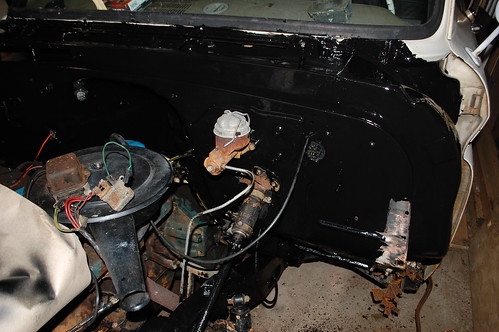
DSC_2961And here is the frame & firewall freshly painted gloss black. I used tractor paint as it is supposed to have good durability. The frame came out great. However despite looking good in pictures, the firewall has a lot of runs & brush marks. I let it dry for a few days anyway, and decided to cover it in textured truck bedliner to hide the flaws.
 

DSC_2964

Patching the inner fenders continues

DSC_2906
With the front end torn down, I could finally weld up the front of the passenger inner fender. As I don’t know what this was supposed to look like as mine is completely gone, so I went with something that looked right. I still need to measure & re-drill the two bolt holes.

DSC_2909


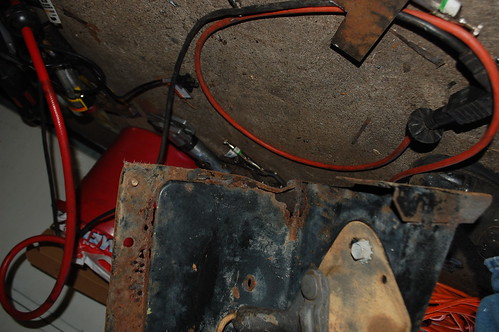
Then I drilled out the spot welds for the bracket that supports the battery tray so I could fix some rust caused by crud trapped between it and the inner fender. I think the spot weld cutter is my new favorite tool.


DSC_2910


The offending rust holes, you can see welding slag from my attempts to patch it without removing the bracket.

DSC_2912


New patches welded in, for some reason I could no get a decent pic of these. I think all the shiny metal confused my camera.

I also cut off the nut on the bracket that had a snapped bolt stuck in it and welded in a replacement.


Next up, the rust on the rear of the panel.

DSC_2918

Oops.

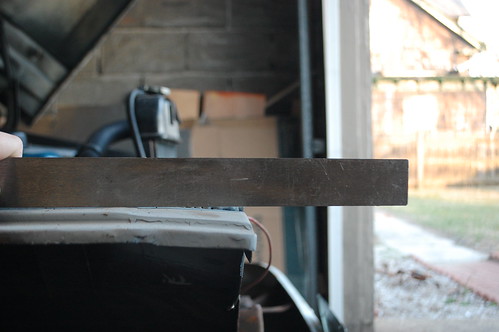
DSC_2889 DSC_2890As I was tearing down the front end, I found a screw up in my prior welding work. I didn’t notice at the time that the heat of my welding had warped the second patch downwards on the passenger side. It is significant enough that the bolt hole for the rad support would be too close to the top to actually get a bolt in.

The fender flange also has a similar bend.


DSC_2892


I ground & cut the welds along the side, bent the whole thing upwards, and tacked it in the right place. There is now a gap along that edge, so re-welding it was extra fun.


      DSC_2893


Much closer now. The outer corner is still a bit low, but I should be able to fix that with some hammer work once the inner fender comes off.

Laying the truck bare

DSC_2872
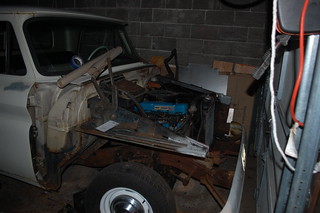
DSC_2873Once I had the front of both inner fenders patched, it was time to strip the rest of the front off. First the radiator support came out, which was just as much of a rusted ruin as I thought. Fortunately though the frame where it mounts was fine, which means at least the frame doesn’t need repair.
DSC_2891


Next off came the hood with the assistance of my weekly gaming group.


DSC_2894


Then off came the inner fenders. All of this so far had come off with minimum fuss, next up was the bumper though, which put of a hell of a fight.
DSC_2920

The final tally when the bumper & brackets were removed was 3 snapped bolts, and 4 that needed to be cut off and 1 that actually came out intact.

DSC_2933

Once everything was off, I was finally at the point where (hopefully) the truck wasn’t going to get any worse and would hopefully start looking better.

DSC_2941


To that end, I ground down the surface rust on the exposed parts of the frame and firewall to start painting them. I am using paint designed for tractors in hopes of adding durability. The firewall is supposed to be the same color as the truck, but I decided to have it match the other panels in the engine compartment.


DSC_2961


After a round of painting this is what I ended up with. It looks really good in this shot, and while the frame came out great, the firewall ended up with a lot of runs & drip marks. I’m going to put a coat of truck bed liner on the firewall to make it look smoother & stand up better to oil & grease.

Truck bits acquired, part 2

As I noted before, my grille panel looks like this:

DSC_2865

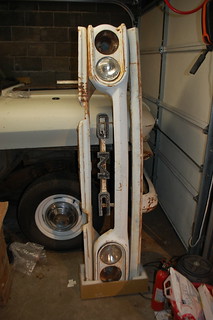
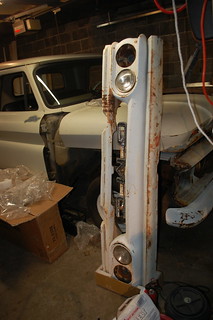
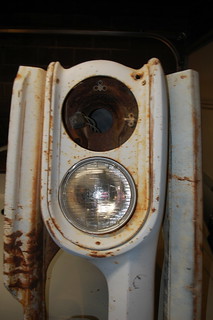
I was dreading trying to fix that, and I was also looking for a GMC dual-headlight grille. A solution for both these problems came in the form of a grille & panel together that a guy on the truck forum I hang out on was selling.

DSC_2857DSC_2860

For $235 shipped form AZ I got a rust free & fairly straight assembly that is cheaper than a new grille panel alone. It will need some cleanup & dings fixed, but it is miles better than what I had.

DSC_2863DSC_2858

DSC_2862

The only real issues are the missing outer buckets, a dent above the right headlamps, and a bullet hole next to the right outer headlamp. Honestly the bullet hole may stay, as it is pretty cool looking.

DSC_2867

I’m not sure yet what will replace the GMC letters. I have seen some people use a Buick grille piece there, but I would really love to find a set of Chevrolet letters that are the right size so it looks kind of stock.

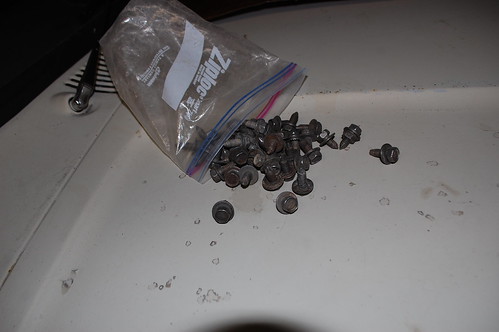
DSC_2869Also, when I bought the grille I asked if he could send me the mounting hardware, and offered to kick in some extra $$. He said he didn’t have the original bolts but would throw in some spares for free. What showed up was 30+ original style bolts already stripped of rust & paint. This should be more than enough to replace all the snapped/busted ones. Hell of a nice guy.

DSC_2884

The day after the grille arrived I went to the first Swap Meet of the season at Stafford Speedway. Spent 3.5 hours wandering around looking at other people’s junk. I always intend to take lots of pictures, but it is so busy & exhausting that always falls by the wayside.

DSC_2885

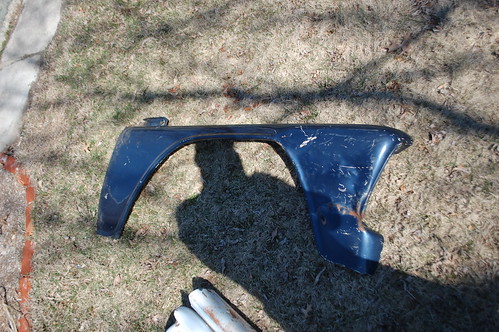
I did pick up this fender for $60. Why did I buy a badly dented fender? It has absolutely zero rot, and the dent is in the only place my fender doesn’t have rot. So I’m hoping I can combine the two into one good fender.


More welding work

DSC_2777

In the continuing adventures of my rotted out ’64 Chevy truck. Today’s plan was to get the front of the passenger inner fender repaired enough that I no longer need the core-support in for reference. As a reminder, this is what I started with.

DSC_2816First patch went in.


DSC_2822

Second patch went in

.


DSC_2826Third & fourth patches went in.


Then I started fabricating the end of the fender mounting flange.
DSC_2827DSC_2830

The corner all welded up. As before, once the radiator support comes off I’ll be finishing up the grinding and re-doing some of the crappier welds as I’ll be able to reach them easier.
DSC_2837