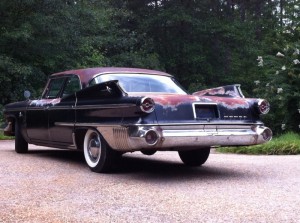
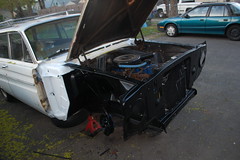
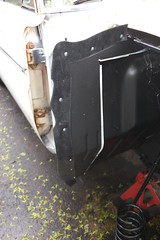
Dodge once again brings the awesome tailfins

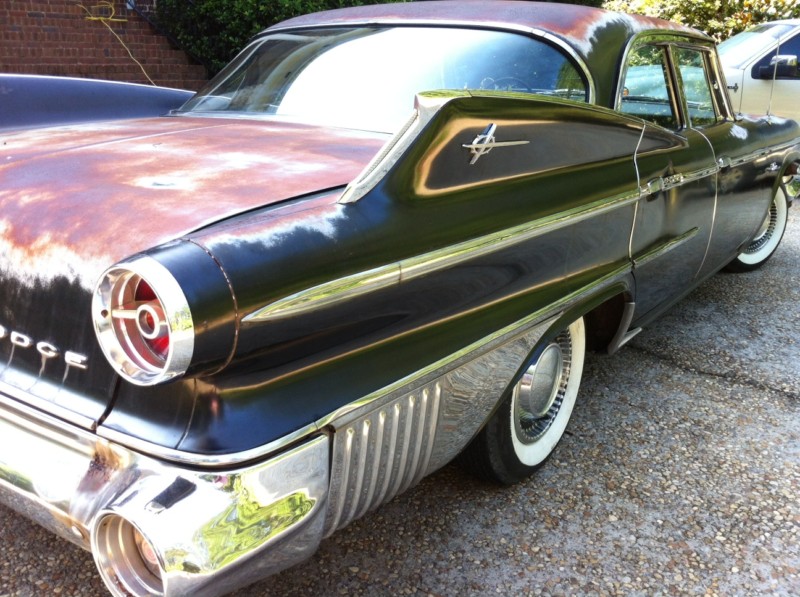
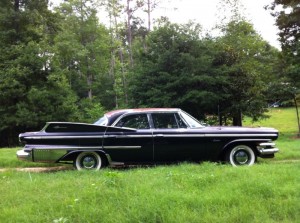
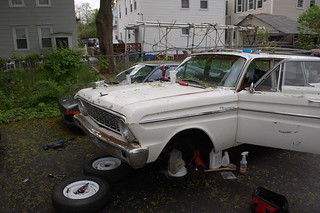
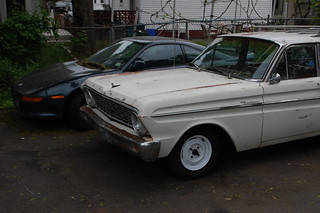
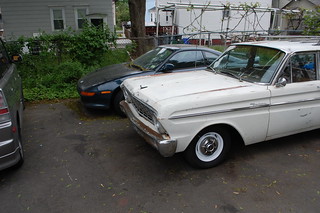
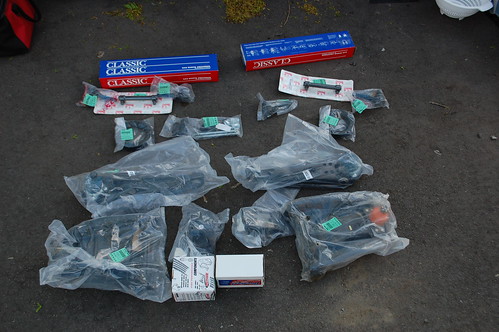
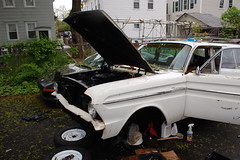
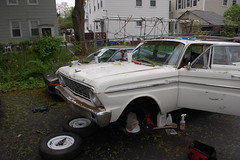
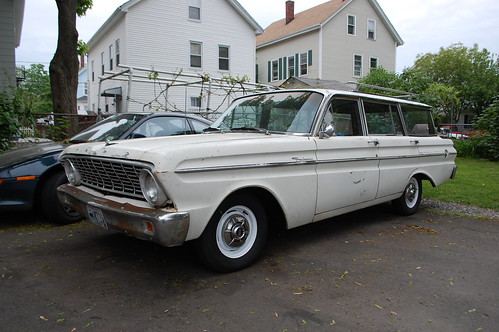
This 1961 Dodge matador on ebay has some fairly simple fins, but some of the weirdest fin placement ever.  They appear to have been installed at least a foot further forward of where you’d expect them to be.

I wonder what was going on in the design room the day this was approved. They must have gotten desperate for new fin ideas. Car makers had already tried double fins, sideways fins, & fins on the top & bottom. I guess fins partway down the car was one of the few options left.


I can only imagine the designers pitching these to management. “They’ve got all the blind spots with half the pedestrian skewering! It’ll be a safety feature.”

Of windshields and vandals.

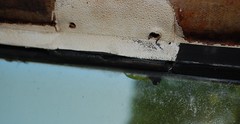
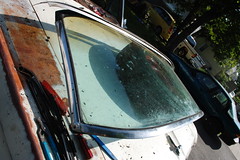
The windshield of the wagon has been leaking since I got the car, I’d attempted to seal it temporarily with some caulking, however that made no measurable difference. I decided to finally replace the seal so that I could start repairs on the floor without the water getting in and ruining them again. Once again Falconparts.com came to my rescue with a reproduction window seal.

First order of business was to get the old seal out. Since it was a wreck and I was replacing it I just removed the inside trim and rear view mirror. Then cut the lip of the seal where it overlapped on the inside.


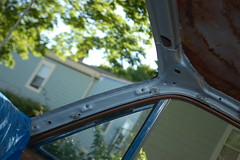
With the seal cut it was pretty simple to push on the windshield to pop it out of the opening.  My big fear at this stage was cracking the windshield getting it loose, but it came loose without any struggle. In this car the trim around the windshield sits in another groove on the seal and comes in and out with the glass.


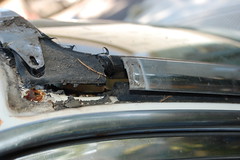
Once the glass was out, I pried off the old seal, pulled loose the trim and tossed the old rubber. Then it was a simple bit of work to scrape off the bits of caulking from my failed attempts and the windshield was ready for its new seal. The opening however needed a bit more work.


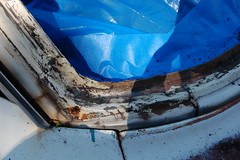
There was minor rust spots in a few places on the seat of the seal, and the inside has surface rust due to the roof leaks. All the rust was ground down, then painted with a few coats of Masterseries.


The inside was given a coat of Masterseries a ways back, both to stop the rust and to just make the area look better.


Once the metal was dealt with it was time to re-install the glass. The new seal was wrapped around the glass, then the trim was installed. It has an L-shaped bracket that fits into a groove in the seal and once the glass is installed it is locked in place. Next a cord was pressed into the groove that sits on the metal lip of the body.


Then the glass was laid in the window opening, and while applying pressure to the glass the cord was pulled out. The cord pulls the lip of the seal over the metal lip of the body and that locks the glass into place. It went surprisingly easily, I only had to take two tries because I accidentally put the start of the cords at the top instead of the bottom(starting at the bottom allows you to use the weight of the glass to help hold the seal in place while you are starting out).

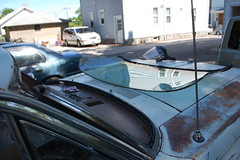
It thought this was going to be the end of this post, but someone decided it wasn’t. About a month later we’d bought the house and I’d moved the wagon over there to make more room in the driveway at our apartment building. Well one day I came over to the house to work on it and found this.

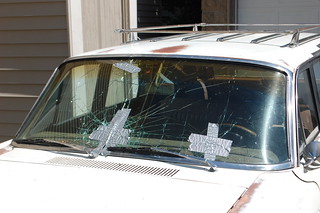
Less the tape obviously

Some vandal(s) decided to welcome us to the neighborhood by throwing bricks through the Wagon’s windshield and four windows of the house. They threw them hard enough to punch through and cover the dashboard in glass. I was able to find a replacement windshield for $50 and re-use the seal so it didn’t cost me much, but it pissed me right the hell off.

This may be the last straw. I’ve been bothered by how the wagon isn’t really usable, and I had been wanting something I could drive and enjoy. So I’m seriously considering sell it and getting something else. Possibly an old truck which would also be useful around the house.

Big doings in the garage of improbability

The erratic (and lack of) posting here are due to us closing on our HOUSE(!!!) on the 8th, and desperately trying to get it livable by the 23rd, when we move out of our apartment.

House will mean more space for living, more space fro projects/creations, more opportunities for dumb ideas and an actual garage for Improbable Garage to exist in.

However at the moment it involves sanding & repairing floors, painting wall, ripping apart stuff and all the other millions of things needed to turn a short-sale house into a place we can live in. So please continue to bear with me until we’ve had a chance to settle down.

First in a long list of “Things I want but don’t need”

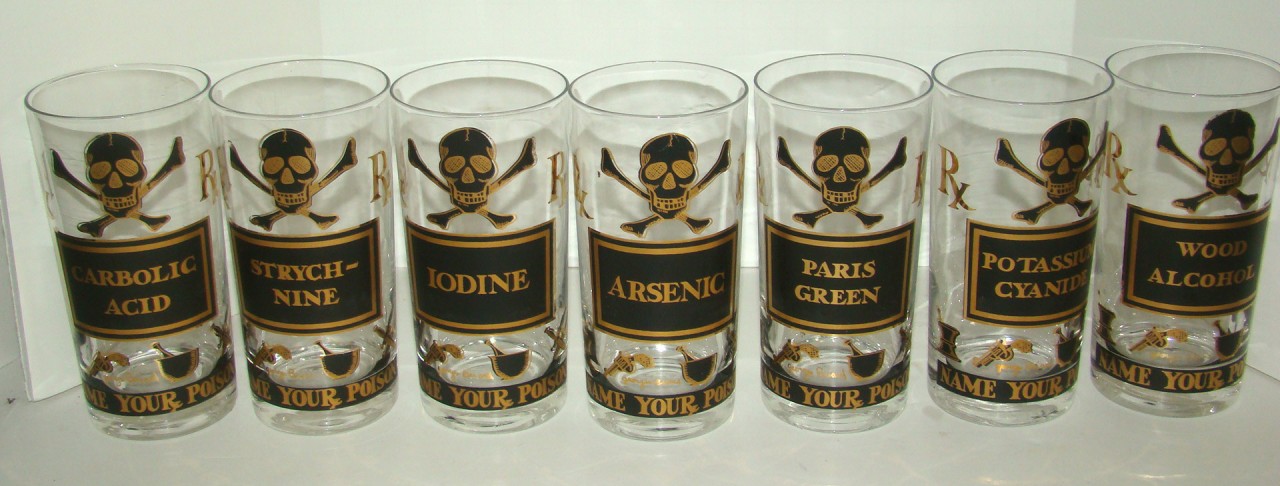
Despite never having drunk alcohol and having no interest in doing so, I am fascinated with barware. I love all the odd glasses, mixers, stirrers, bar decorations, and other “stuff” that is associated with alcohol(and especially mixed drinks). The stuff from the 50s/60s are my favorites. And of all that I have seen, this set is my absolute number one barware lust object.

They are absolutely the coolest set of glasses(there is supposed to be one more, but the set pictured is missing it). Sadly, in the rare case they pop up on ebay they tend to go for $200+. So it may be a long time before I can get some.

But when I do they will have a place of honor in the rumpus room that will one day be built in the basement.

I don’t even own the house yet…

…and already it is taking over my brain.

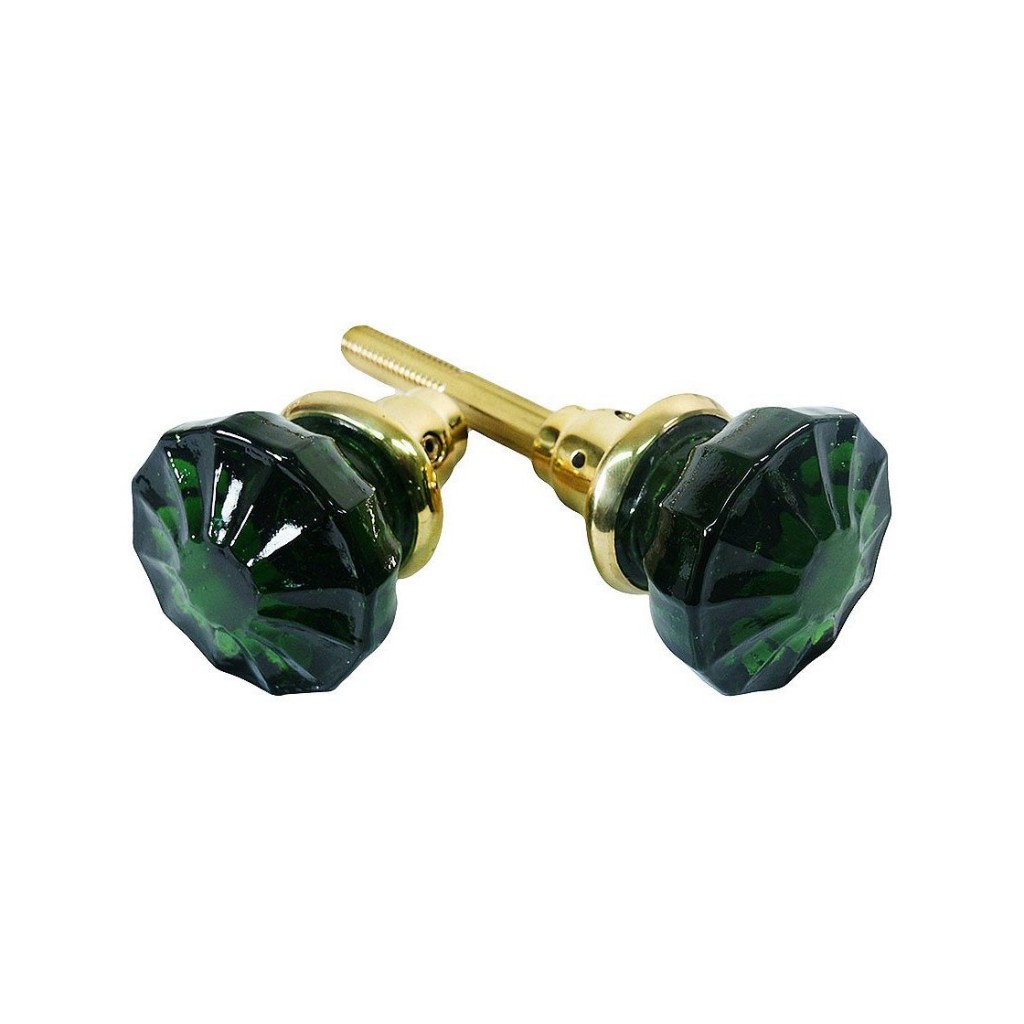
Today’s obsession is these forest green glass door knobs.

Look at them. Just look at them.

 Tell me that isn’t just about the coolest door knob ever. With the green, and the glass and…

Sorry what?

You’ve never given door knobs a thought?

Oh, you’re one of those normal, well-adjusted people. Aren’t you?

Anyway… I have a distinct weakness for glass door knobs. and them being dark green glass just puts it over the top. It would “only” cost $600 to replace all the visible door knobs in the house with these. Sigh…

More Craigslist fun

I don’t expect the people posting car ads to have great grammar or spelling, but sometimes their errors make ads really frustrating or difficult to read.

In contrast, the error in this craigslist post for a 1962 Buick Super makes it hysterical to read. Here is the ad in it’s entirety.

1962 buick 4 door – $5 (monroe ny )

the car was ruining last year


If a car had ruined an entire year for me, I’d consider selling it that cheap too. Better to have it gone that risk it ruining another year.

Project Creep timeline

I made an effort during the front-end project to try and get a picture from the same approximate angle at each major step in this process. Some didn’t come out or I was so busy I forgot, but it still make a pretty good timeline of the whole thing, so here you go.

Before I started, the wagon with it’s worn out front suspension & rusty wheels. The original plan had been to simply replace the front suspension, cleaning up and painting the parts & mounting points as needed.
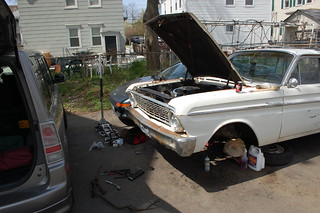
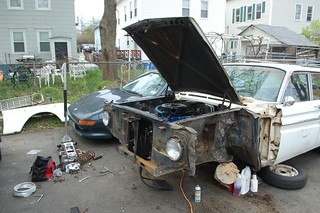
This is that point, when the suspension was pulled apart. At this point I decided to clean up & repaint the insides of the fenderwells since it was easier to get in there with the suspension gone. As soon as I started I realized it would be easier without the pesky fenders in the way, which required removal of the bumper & grille…

So all those parts were pulled. At this point since I had them off I figured I might as well redo this whole area, since I could get at it all.

To this end the headlights, the hood latch, fender shields & all remaining brackets were pulled off.

Next up everything was powerwashed. I have a cheap little electric power washer, it is surprisingly useful and does an amazing job of removing grime that would take forever to scrub off. I should have a picture here of everything ground down and ready for paint, but I forgot that overall shot.

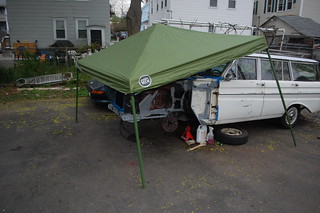
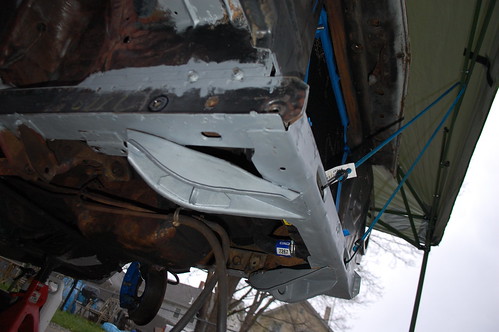
Next was Masterseries paint on all the rusty areas, Right after I put the first coat on it began to drizzle, thus the shot after I’d thrown the tent over it in a panic.

There was another coat of Masterseries the next day, then the primer went on over everything.

Lastly was two coats of semi-gloss black, and one coat of truck bed liner in the wheelwells.

With the painting done the re-assembly could begin. The new suspension went in first, followed by the smaller brackets, etc, then the headlights, valance panel & one fender.

Then the other fender & grille. In these pics the brakes are still wrapped in a plastic bag, this was because I couldn’t find my grease gun, so I couldn’t  repack the wheel bearings & finish up assembly. I tracked it down the next day and got all that put together.

Then the bumper & headlight trim rings. The car say more or less like this for a week while I located replacement for some defective tie-rods. Once those arrived I was able to wrap everything up.

The freshly painted wheel went on and the car was finally back on its “feet” for the first time in three weeks. It is amazing how much all the work doesn’t show, while at the same time how much the painted wheels chance the look of the car.

Lastly the hubcaps went on and I could finally call the project done. She’ll need an alignment but tracks straight enough for right now that that isn’t a huge priority, she’ll get it once I can carve the funds out of my budget.


Project Creep 4, I love it when a car comes together.

Those are all the replacement parts for the front suspension. Everything is being replaced except the spindle, strut rod & spring(all of which don’t have any wear parts). So once I’m done, The wagon will essentially have a brand new front end.

I forgot to take pictures of the installation, probably because I was too busy trying to convince the spring to seat properly. Despite cutting one coil off the springs(to lower the car) they were still a tight fit to get in place with new stiff bushing on all the parts. It turned out the tie rods they sent me as part of the kit were wrong, I had four inner tie rods and no outer tie rods. When I call them they said they’d just found out there supplier had screwed up a whole batch, and they had no correct inner tie rods. I ended up having to order them from another company, which delayed the whole project by an extra week.

Once I’d gotten as far as I could with the suspension, I started putting the sheet metal on. It took surprisingly little time, even with all the fiddling to get things to line up as straight as possible. With as many pieces as there was to put together, I made a few mistakes. I initially had the grille brackets upside down, but fortunately that was an easy fix.

One of the things with doing all of this work was that the area visible through the grille was going to look better, more consistently dark instead of a mishmash of black, rust and the pieces that were white from the factory. It is a little thing, but I always prefer cars where the area behind the grille is all dark, it just looks cleaner and more finished.

The only part of this project I wish I’d been able to do more with was the bumper. I don’t even want perfectly new looking chromed ones, but the level of rust on the current one bugs me. I did grind the rust off the brackets, and shoot them with some paint. However I didn’t bother to take them apart, as I didn’t want to risk stripping out the holes in the bumper.

Altogether I’m really happy with how all this turns out. Under the fenders it looks like a brand new car. Being able to look at something that looked like this, and make it look like this it immensely satisfying.

As soon as the new Tie rods arrived. I was finally able to put the last bits together and get the wagon back on the ground. Even I am amused at how little the three weeks of work show once the car is all together again. But now the steering wheel will actually have a more direct influence on where the car goes.

Project Creep 3, paint and more paint!

If you aren’t sick of seeing parts of a Falcon with paint on them, you will be soon, almost as sick as I was of painting them.

After two coats of Masterseries it was time for primer. I’m using various Rustoleum paints for this, as they are cheap and pretty durable. It may not be professional level restoration quality, but since that isn’t what this car is, it suits me just fine. So several cans of Rusty Metal Primer later and everything was consistently dark orange.

Since there was a lot of waiting for paint to dry, I was jumping somewhat randomly between lots of different parts of the car. So for instance I might find myself painting Masterseries on the inside of the fenders, then putting a coat of primer on front suspension parts. I had an elaborate (and likely baffling to anyone else) system as to where things got placed on the driveway so that I could keep parts from the left & right sides of the car apart so I didn’t cross anything important up.

One thing I learned on a previous project, and utterly failed to remember to photograph here was how I kept all the nuts & bolts organized. as things came off the car, all the relevant hardware would go into a simple ziploc style sandwich bag, and have “Right Fender” or whatever written on it. Then later I’d sort & count what was in that bag and add a list of the contents. I had gotten a Harbor Freight Vibrator Tumbler(which is less exciting than it sounds) for my birthday, so all the hardware got a run through that, which while it didn’t come out looking brand new, definitely cleaned it up significantly. Then it all got a quick coat of spray paint, just to keep it from rusting right back up and making my new paint look a mess.

After primer came the top coat. Everything got two coats of semi-gloss black, then any part that was going to be inside the wheelwell got a coat of truck bed liner to help protect it from stuff kicked up by the tires. I continued on painting the various suspension bits so that everything that was going back on the car would look like new.

One thing I needed to replace was the rubber seal that went between the inner fender & the fender itself to keep the tire from flinging stuff where it would collect and help form more rust. The originals were dry & cracked and basically fell apart when I removed them. I had planned to find some other material to make replacements out of, make patterns and cut new ones. I was even going to do a separate blog post about it. Then I discovered a full set of reproduction pieces was all of $24, so I bought those. Sorry. I ended up using sheet metal screws with extra-wide heads to install them. They were originally stapled on from the factory, but I don’t own any tools capable of punching a staple through 18 ga sheet metal.

Next up, stuff goes back together.

Headlight Bucket Restoration

As I missed a few updates, I figured I’d give you some short bonus entries to make up for it. So here is the first, the restoration of the headlamp buckets.

Each of these buckets were covered in surface rust, full of dirt and each had it’s own long empty hornets’ nest.

First everything had to come apart. Everything on these was intact, and like the car had no rot. The wiring & connectors were all still good and the wiring was still flexible.


Everything got a very thorough wire brushing to remove the surface rust, then two coats of primer, followed by two coats of semi-gloss black.

The back of the bucket got a coat of truck bed liner like the inner fender, then the wiring was scrubbed clean and everything was re-installed.


Little side projects like this are really great when working on a larger overall project, they give a sense of accomplishment and completion that helps keep the momentum going when the larger project is taking longer than expected.